M365 (Office) Upgrade to 64 bit in an Organization
Transitioning to the 64-bit version of Office isn't as simple as uninstalling the older 32-bit version and expecting smooth sailing. Certain users already face challenges with the 32-bit version, experiencing frequent crashes with large Excel files and sluggish performance with certain applications.
Furthermore, your environment may contain 32-bit COM add-ins for Office applications that are incompatible with the 64-bit version. Additionally, you may have internally developed macros that may not function reliably on the 64-bit platform.
The focus of the article is on facilitating seamless switching between M365 x86 and x64 versions. While the solution provided may not address all issues simultaneously, it can enable users to transition between the two versions effortlessly. Allowing for experimentation with minimal downtime allows gathering feedback on necessary updates or replacements for plugins and macros.
In the example below, I make certain assumptions. While they may not all be applicable to your situation, let's presume that Autopilot is already configured and used for provisioning your end-user devices.
Let's get to it!
Concept
- Decide on a default version of office to install during Autopilot (I'll use 32 bit)
- Make this version 'stick' - e.g. always detectable
- Create two Intune packages for the user-installable 32 bit and 64 bit versions
- Use win32 app instead of Intune's built-in M365 config builder (this has been mentioned by quite a few peers I spoke to recently)
As in my case the currenly used M365 version is the 32 bit one along with plenty of plugins, I intend to install this one during staging. For creating your config I highly recommend the office deployment kit and the online configurator:
https://config.office.com/deploymentsettings
https://learn.microsoft.com/en-us/deployoffice/overview-office-deployment-tool
https://www.microsoft.com/en-us/download/details.aspx?id=49117
The Office configurator will help you build a suitable xml file that the deployment tool can interpret. It will then install and configure Office in a way you'd like. It's really self explanatory and there are help links all over the place to help you with explaining some options.
I would only highlight the ones that are important for our main topic. The very first step is to select the architecture. For the initial one I'll use 32 bit, then I can either repeat the steps for the 64 bit version to generate a new XML, or just change a line in the 32 bit's one.

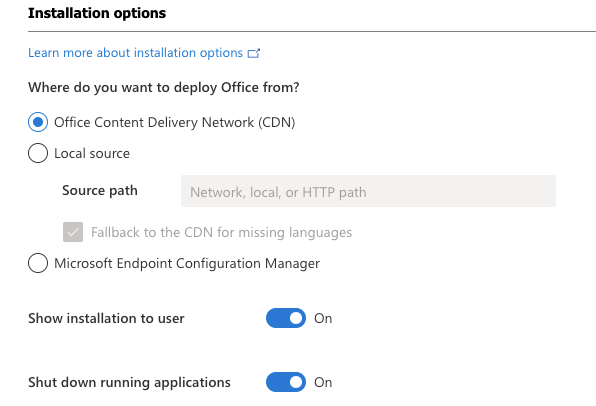
Next step is the source. I will rely on Microsoft's content delivery network (CDN) which will be by far the fastest way, especially if you provision devices that are remote to your main Azure region...
NOTE: for the Autopilot version you don't need either of the last two options. No-one to show the installation to during Autopilot, and hopefully no running office apps to close at that stage either... 😄
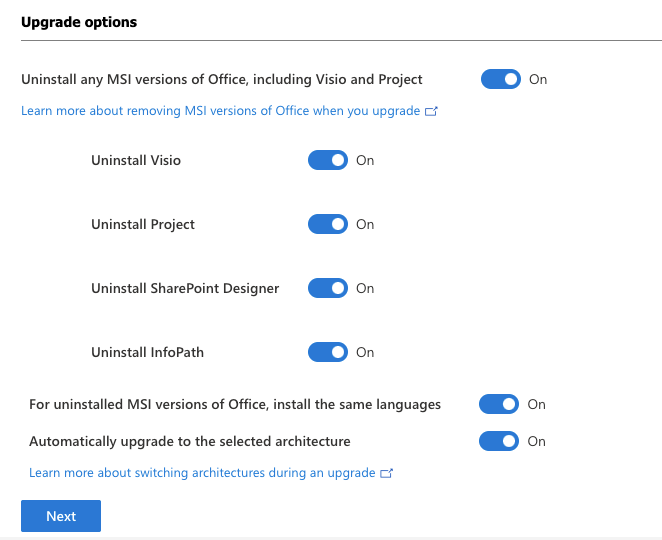
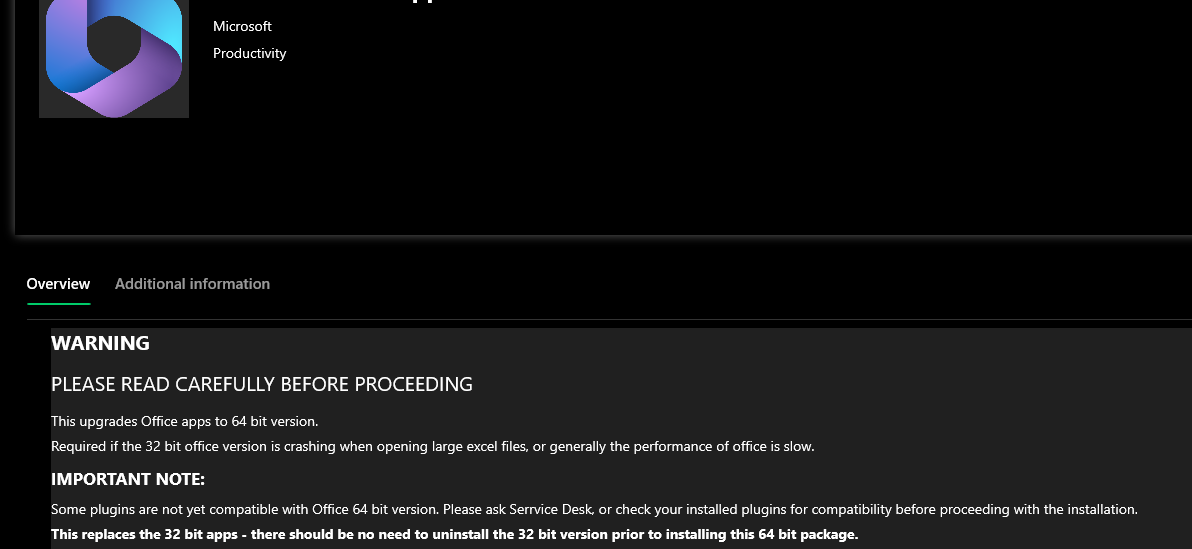
Now, the upgrade options may vary greatly based on what other apps your users happen to have installed. I would kindly remind them that replacing office architecture might need them to reinstall other office apps.
Their favourite add-ons might also need to be replaced, especially the ones which do not install a 64 bit version along with their 32 bit installers... (you should also re-package and make it available via Company Portal of course - will blog about this soon)
The important lines in the XML are the following few:
<Add OfficeClientEdition="32" Channel="MonthlyEnterprise" MigrateArch="TRUE">

<Property Name="FORCEAPPSHUTDOWN" Value="TRUE" />
The MigrateArch switch ensures the current version of office will be replaced by the other, e.g. 32 bit with the 64 bit.
The FORCEAPPSHUTDOWN will make sure the update is smooth as there are not office apps are running. (Even more on this later...)
PSADT Packaging, Detection Rules, Uninstall
You should now have 3 XML files.
- One for a non-interactive Autopilot deployment, either 32 or 64 bit
- One for user-installable interactive 32 bit that replaces 64 bit version
- And an interactive 64 bit one that replaces the 32 bit version
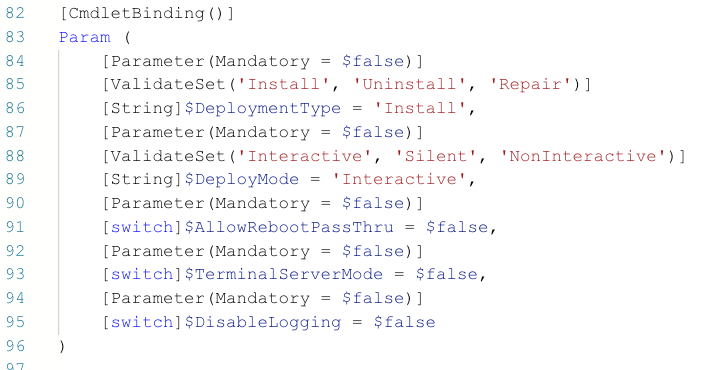
I use the PowerShell App Deployment Toolkit (PSADT) in 95% of the cases when I package. The remaining 5% is being procrastinated to a point where I use PSADT to package them too.
The install command in PSADT is one single line with the setup.exe and the XML sitting in your PSADT's Files folder:

##*===============================================
##* INSTALLATION
##*===============================================
[String]$installPhase = 'Installation'

Execute-Process -Path 'setup.exe' -Parameters '/configure 64bitUserAllowed.xml'
Autopilot would push the 32 bit non-interactive installation, as a required software targeting the provisioned devices and here comes the fun part. A special detection rule so that this required office package is detected even if the user completely uninstalls office, upgrades to the 64 bit, removes that one, reinstalls the 32 bit interactively, etc. This ensures that the Autopilot version never bothers the device again.
I use a dummy registry key for this. It gets created in the post-install section of this PSADT package:

##*===============================================
##* POST-INSTALLATION
##*===============================================
[String]$installPhase = 'Post-Installation'
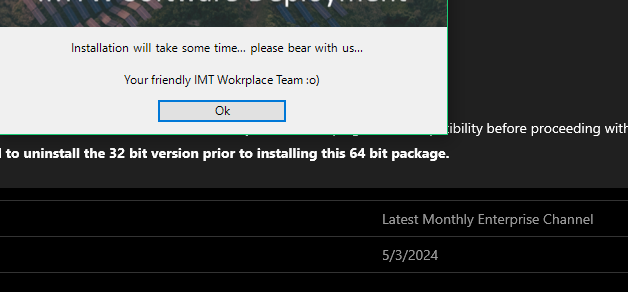
Set-RegistryKey -Key 'HKEY_LOCAL_MACHINE\SOFTWARE\Workplace' -Name 'Autopilot_Office_Installed' -Type 'Dword' -Value '1'With PSADT I can also make the interaction more user friendly and provide some on-screen instructions or information. This is a major change on the device and it takes some time. (15-25 mins easily).
So I choose interactive deployment as well as displaying a message that this is a slighly longer one than usual. The installation progress window will stay open during the process. The Office splash screen is also shown as per the XML config we did earlier.
[String]$DeployMode = 'Interactive',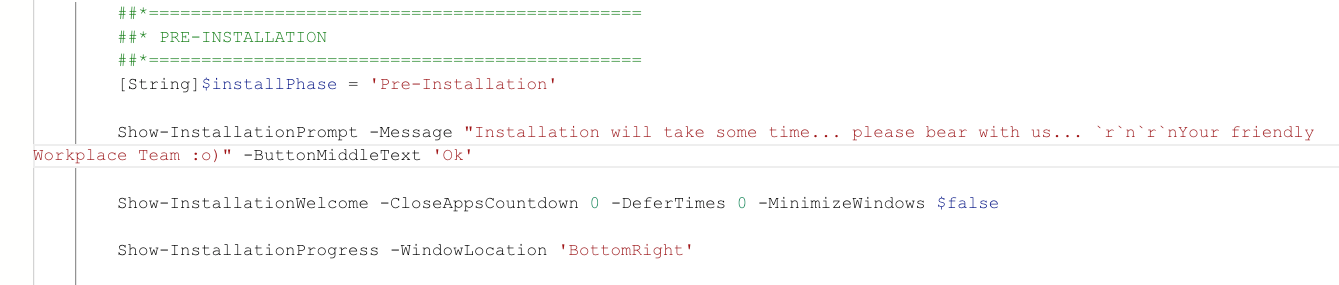
##*===============================================
##* PRE-INSTALLATION
##*===============================================
[String]$installPhase = 'Pre-Installation'

Show-InstallationPrompt -Message "Office 32 bit installation will take some time... please bear with us... `r`n`r`nYour friendly Workplace Team :o)" -ButtonMiddleText 'Ok'

Show-InstallationWelcome -CloseAppsCountdown 0 -DeferTimes 0 -MinimizeWindows $false

Show-InstallationProgress -WindowLocation 'BottomRight'
As a safety, I also have an XML that can uninstall office. But normally the installer takes care of this based on the MigrateArch switch in the install XML when you are upgrading/downgrading.
<Configuration>
  <Display Level="None" AcceptEULA="TRUE" />
  <Property Name="FORCEAPPSHUTDOWN" Value="True" />
  <Remove>
    <Product ID="O365ProPlusRetail">
    </Product>
  </Remove>
</Configuration>
User Experience
If all goes well, Intune gods like me and the uploaded packages appear fine in the Company Portal, users can see them as available and can click on them at will.
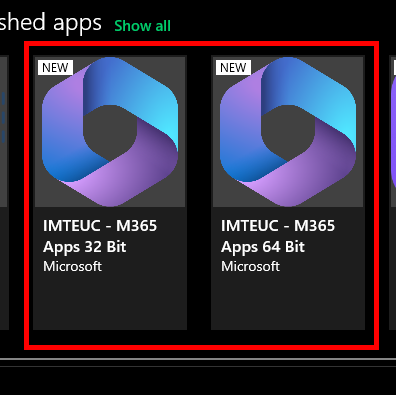
With both of them having some warnings and notes for the user to consider before they casually click install:
That's it! When the user clicks around and decides to upgrade the following few messages apprear:
Then setup.exe kicks in removing the currently installed version. (the top little window is PSADT's progress window)
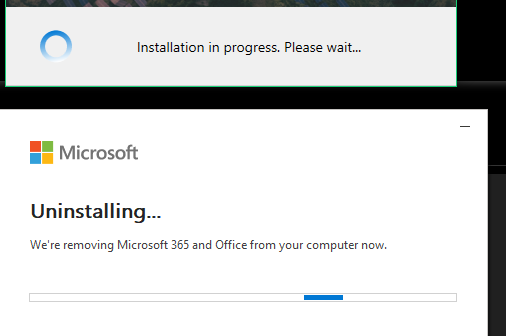
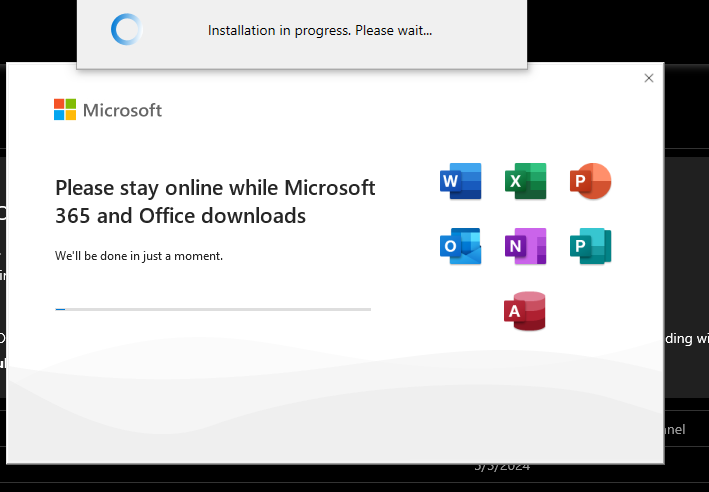
Finally, the new version's installation starts and this does take some time indeed.
I will write about packaging plugins next!
Stay tuned 😋